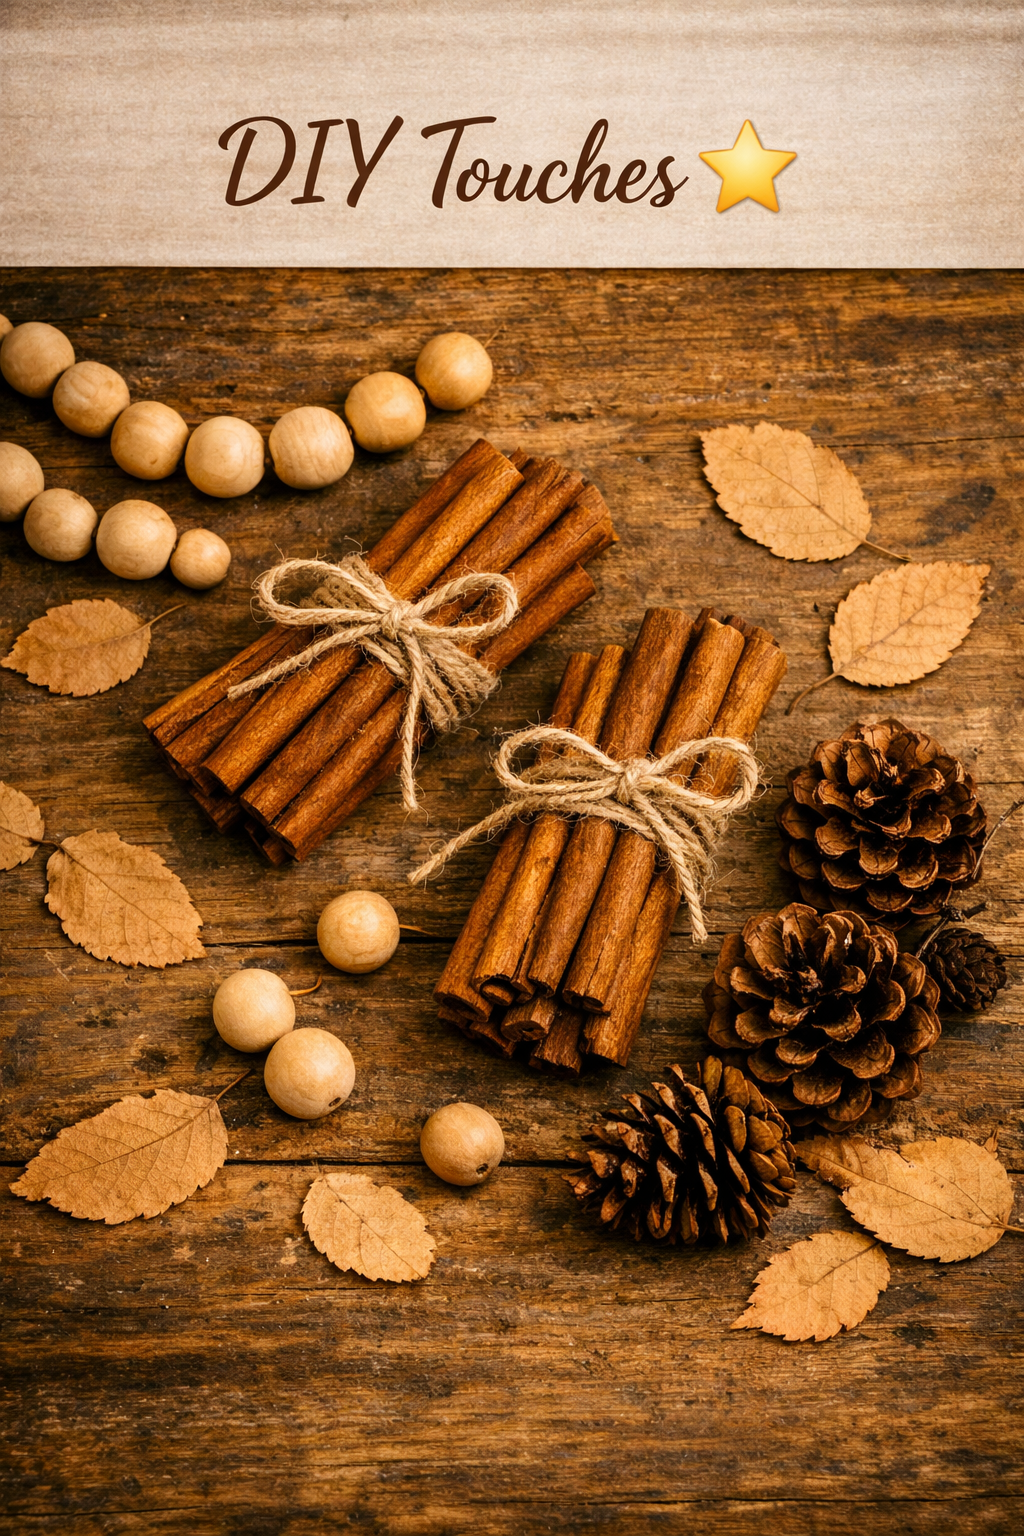
Some of the coziest fall decor isn’t something you buy pre-made — it’s something you put together yourself with a handful of simple, natural materials. There’s a particular kind of satisfaction in tying your own cinnamon stick bundle or stringing your own wood bead garland, and beyond the satisfaction, DIY accents like these tend to look more personal and less “off-the-shelf” than anything you could buy fully assembled.
This tutorial walks through three simple fall DIYs using the same handful of materials — so if you’re already decorating your tiered tray, mantle, or entryway this season, you likely have most of what you need already. Each project takes under 20 minutes, requires no special tools, and can be made in bulk if you want enough to decorate every room in your home (or even to give as gifts).
What You’ll Need
Before we get into the step-by-step instructions, here’s the full materials list for all three projects:
- Cinnamon Sticks — for the bundles, this is your main material
- Wood Bead Garland (cream & jute) — you’ll use this as-is for draping, plus we’ll show you how to customize it further
- Eucalyptus Stems — adds a fresh, organic touch to the cinnamon bundles
- Natural Pinecones (24-pack) — for the pinecone accent projects
- Jute twine (a small roll — many craft or dollar stores carry this, or check if it’s included with your cinnamon sticks)
- Scissors
- Hot glue gun (optional, for the pinecone project)
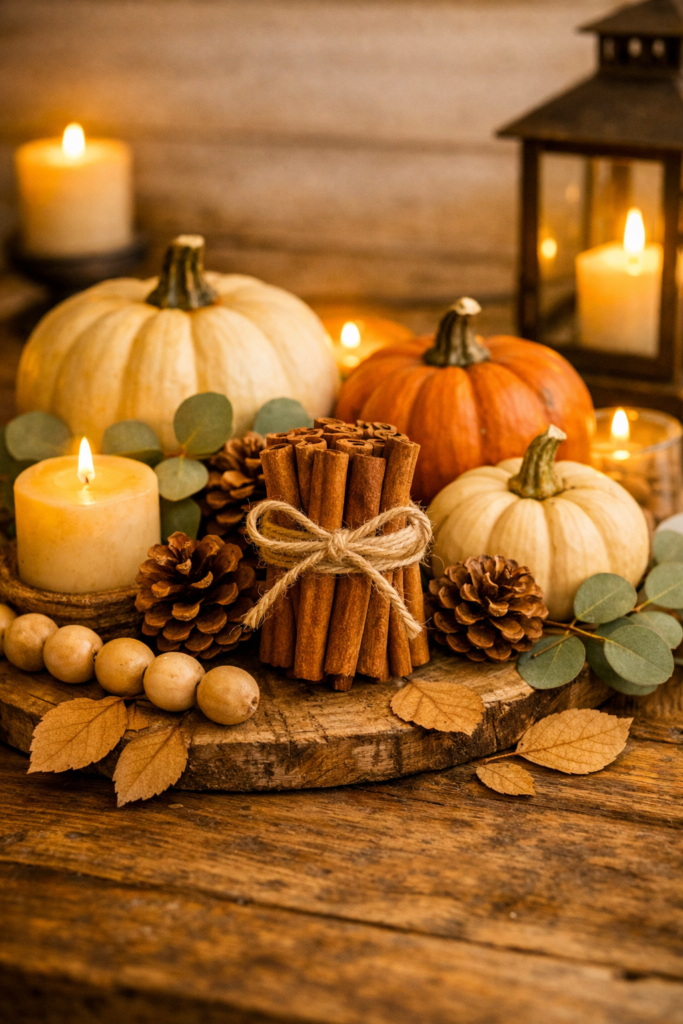
Project 1: DIY Cinnamon Stick Bundles
These little bundles are one of the simplest, most versatile fall DIYs there is. Use them as standalone accents on a tiered tray, tuck them into a mantle display, or scatter a few across an entryway table — we’ve used these exact bundles in all three of our other fall styling posts.
What you’ll need: 6-8 cinnamon sticks per bundle, a length of jute twine (about 12 inches), scissors, and optionally a small sprig of eucalyptus.
Step-by-Step:
- Sort your cinnamon sticks. Lay out 6-8 sticks and arrange them so the ends line up as evenly as possible. Uneven sticks aren’t a problem — a slightly staggered look actually adds to the rustic charm.
- Gather the bundle in your hand. Hold the sticks together tightly, keeping them aligned at one end.
- Wrap the jute twine around the center of the bundle. Leave a few inches of extra twine on one end before you start wrapping — you’ll need this to tie it off.
- Wrap 3-4 times around the bundle, keeping the wraps snug so the sticks don’t shift once you let go.
- Tie a knot to secure the wraps, then finish with a simple bow using the remaining twine. A slightly imperfect, loose bow actually looks more natural than a tight, precise one for this style.
- Tuck a small eucalyptus sprig behind the twine if you want to add a touch of greenery — this is completely optional but adds a nice contrast in texture and color against the warm brown of the cinnamon.
- Trim any uneven stick ends at the bottom with scissors if you want a cleaner finished look, though leaving them natural and slightly uneven is also a completely valid style choice.
Repeat this process to make as many bundles as you need. Making 5-6 at once is efficient if you’re decorating multiple spots in your home, since you can lay all your sticks out together and assemble bundles assembly-line style.
Styling tip: These bundles look best in odd-numbered clusters (3 or 5 bundles grouped together) rather than scattered individually. Try clustering them in a small bowl or crock, or leaning a few against each other on a tiered tray.
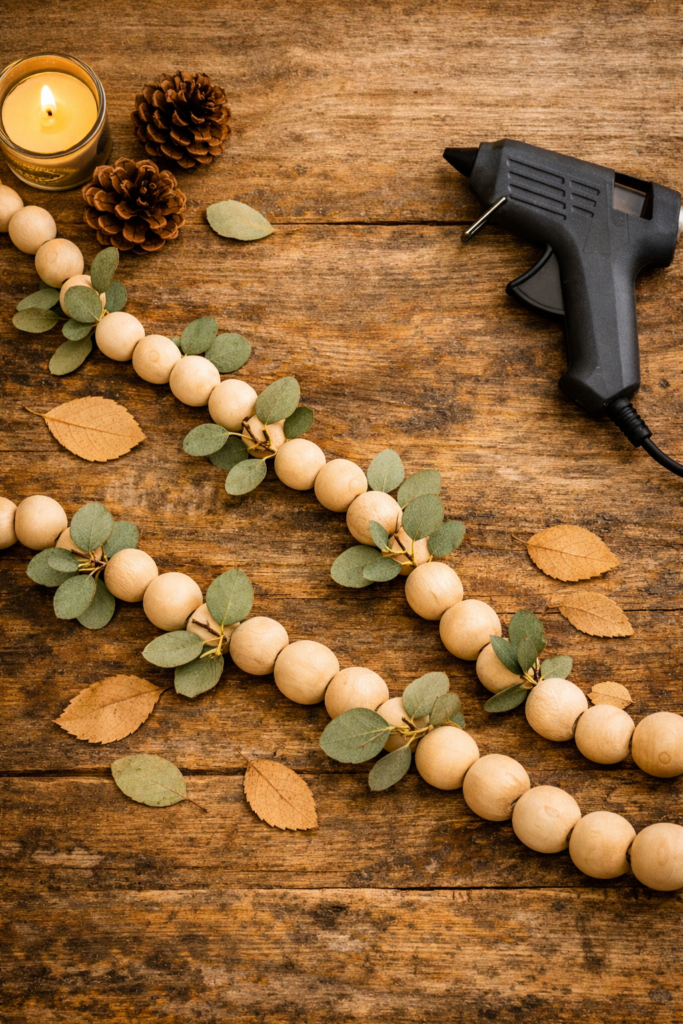
Project 2: Customizing Your Wood Bead Garland
Wood bead garland is beautiful on its own, but you can easily customize it to feel more unique to your space with just a couple of small additions.
What you’ll need: Your wood bead garland, a few small dried eucalyptus leaves or sprigs, and a hot glue gun (optional).
Step-by-Step:
- Lay your garland out flat on a table so you can see its full length and plan where you want to add accents.
- Identify a few spots along the garland — typically every 12-18 inches — where you’ll tuck in small embellishments.
- Tuck small eucalyptus sprigs between the beads at your chosen spots. If the sprigs feel loose, a small dot of hot glue at the base of the sprig where it meets the garland will hold it securely without being visible.
- Drape the finished garland along your tiered tray, mantle, or entryway table, letting a portion spill over the edge for that natural, cascading look we talked about in our other fall styling posts.
Styling tip: If you want an even more layered look, drape two lengths of garland at slightly different heights rather than just one — this is a simple trick professional stylists use to add depth to a flat surface.
Project 3: Natural Pinecone Accents
Pinecones are one of the most versatile, budget-friendly fall materials you can work with. Here are two simple ways to use them beyond just scattering them as-is.
Option A: Pinecone Clusters
- Group 3-5 pinecones together, varying their sizes if your pack includes different sizes.
- Add a small dot of hot glue to where the pinecones touch each other, holding the cluster together as one unit.
- Use the cluster as a single accent piece — these hold together nicely when nestled into a tiered tray tier or set at the base of a candle.
Option B: Twine-Wrapped Pinecones
- Take a single pinecone and wrap a length of jute twine around its base, similar to how you wrapped the cinnamon bundles.
- Tie off with a small bow, leaving a short tail of twine.
- Use these individually tucked among pumpkins or candles for a little extra textural detail — they photograph especially well nestled next to a lit candle.
Putting It All Together
Once you’ve made your cinnamon bundles, customized your garland, and prepped your pinecone accents, you have a complete set of natural, DIY fall decor pieces that work across every room of your home. Here’s how they pair with our other fall looks:
- On a tiered tray: Cluster 2-3 cinnamon bundles on the base tier, drape the customized garland along the edge, and tuck a pinecone cluster into any remaining gaps. (See our full Tiered Tray Styling guide for the complete layout.)
- On a mantle: Lean a single cinnamon bundle against your mirror, use twine-wrapped pinecones near your candle risers, and let the garland drape along the mantle’s edge. (Full details in our Mantle Magic post.)
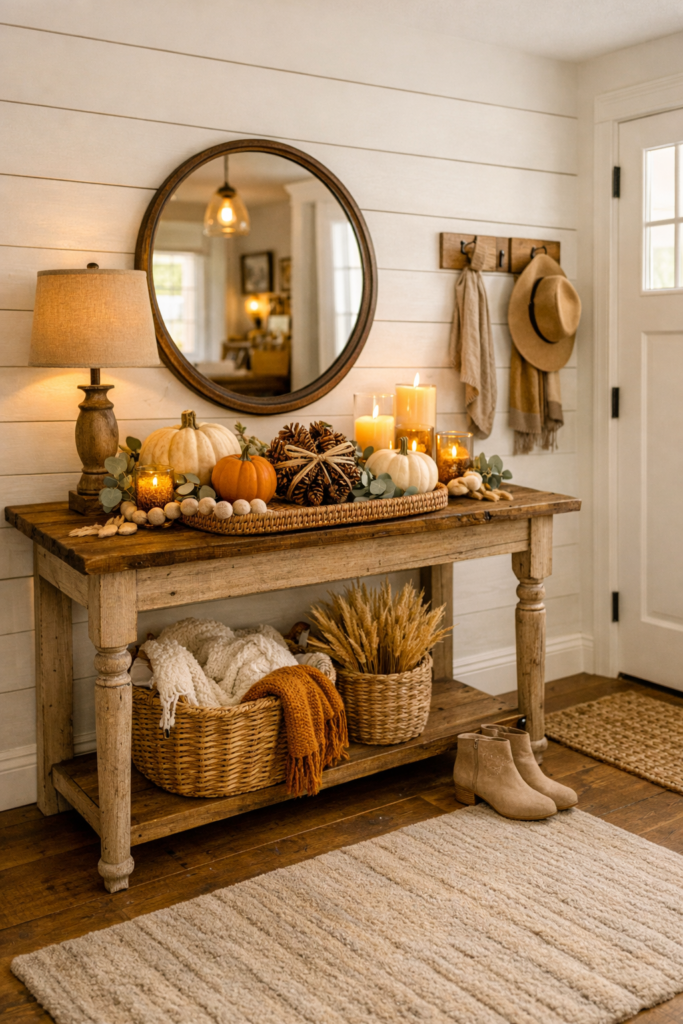
- On an entryway table: Tuck a cinnamon bundle near your lamp base and scatter a couple of twine-wrapped pinecones near your pumpkin cluster. (See our Entryway Welcome guide for the complete look.)
Tips for Making These DIYs Last
- Store cinnamon bundles in a paper bag, not plastic, between seasons. Plastic can trap moisture and cause mold; paper lets them breathe and keeps that cinnamon scent intact longer.
- Keep pinecones dry. If they’ve been outside and feel slightly damp, let them air dry fully (or warm them in a low oven at 200°F for about 20 minutes) before using them indoors — this also helps them open up fully if they’ve closed from moisture.
- Wood bead garland is reusable for years. Simply remove any seasonal embellishments (like the eucalyptus we added) when fall ends, and the base garland is ready to be re-styled for winter, spring, or any season after that.
A Simple Way to Add Handmade Charm
What makes these three projects worth the small time investment is how much personality they add to a space compared to buying everything pre-assembled. A store-bought cinnamon bundle looks fine — but one you tied yourself, slightly imperfect and uniquely yours, is what actually makes a home feel personal rather than staged.
If you make any of these projects, I’d love to see them! Tag your photos #HomecraftedHaven — we always love featuring reader creations.
This post contains affiliate links. If you make a purchase through one of these links, I may earn a small commission at no extra cost to you. Thank you for supporting Homecrafted Haven!
Leave a Reply