Easy, affordable, and beautiful ways to personalize your home.
If you’ve been wanting to give your home a fresh, handmade touch without spending a ton of money or needing complicated tools, you’re in the right place. These beginner-friendly DIY projects are perfect for adding charm, personality, and warmth to any space — no experience required!
Whether you’re decorating your first home, refreshing a tired room, or just looking for a creative outlet on the weekend, these 10 projects will get you inspired and crafting in no time. Best of all, most can be completed in a single afternoon for under $20.
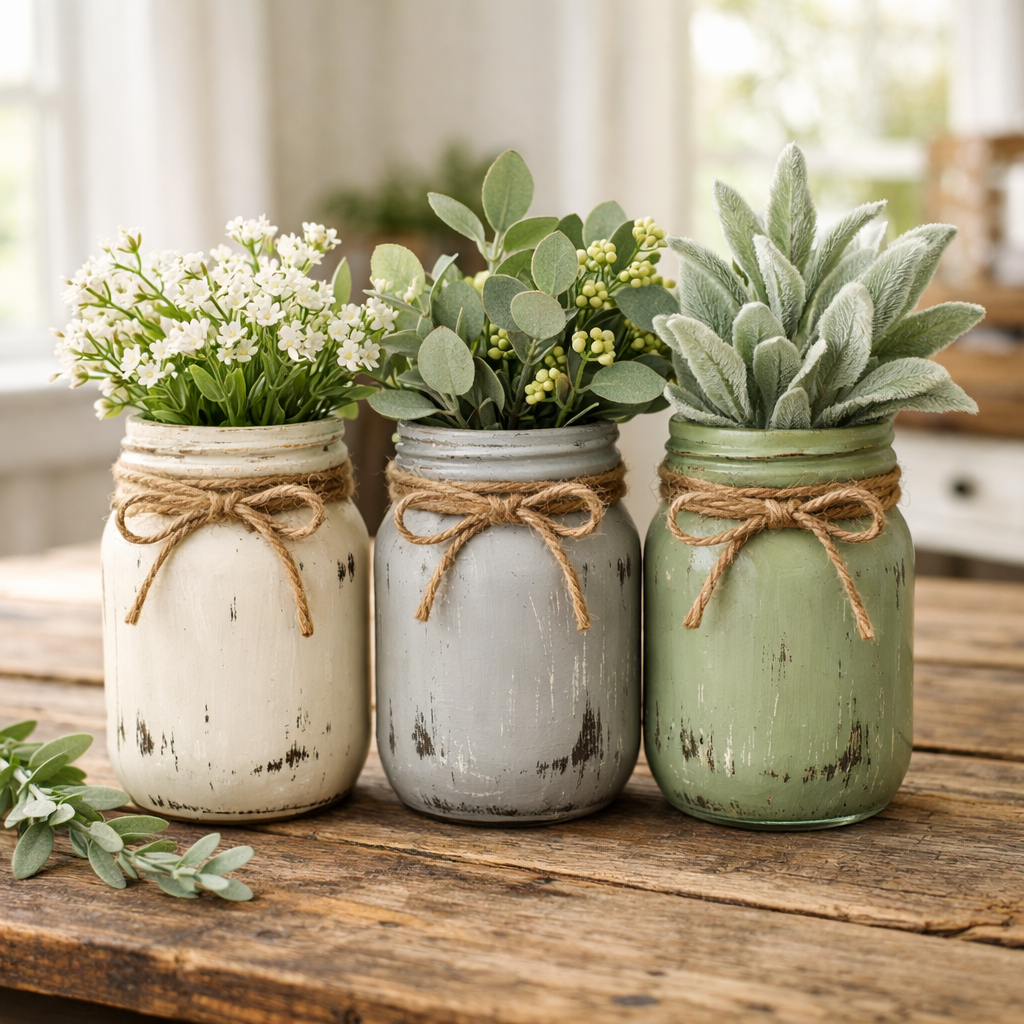
1. Mason Jar Centerpiece
Mason jars are one of the most versatile crafting supplies you can own, and this project proves it. Paint or lightly distress a set of three jars in coordinating colors, then fill them with faux greenery, dried flowers, or battery-powered fairy lights for an instant centerpiece that works on a dining table, kitchen counter, or fireplace mantle.
How to make it: Lightly sand the outside of each jar, then apply two coats of chalk paint. Once dry, gently distress the edges with sandpaper for a farmhouse look. Wrap twine around the neck and secure with a knot or small bow.
Why it works: It’s affordable, completely customizable, and fits farmhouse, rustic, boho, and modern styles equally well.
Supplies you’ll need:
- Mason jars (6-pack) — Check Current Price
- Chalk paint in your color of choice — Check Current Price
- Natural jute twine — Check Current Price
- Faux greenery stems — Check Current Price
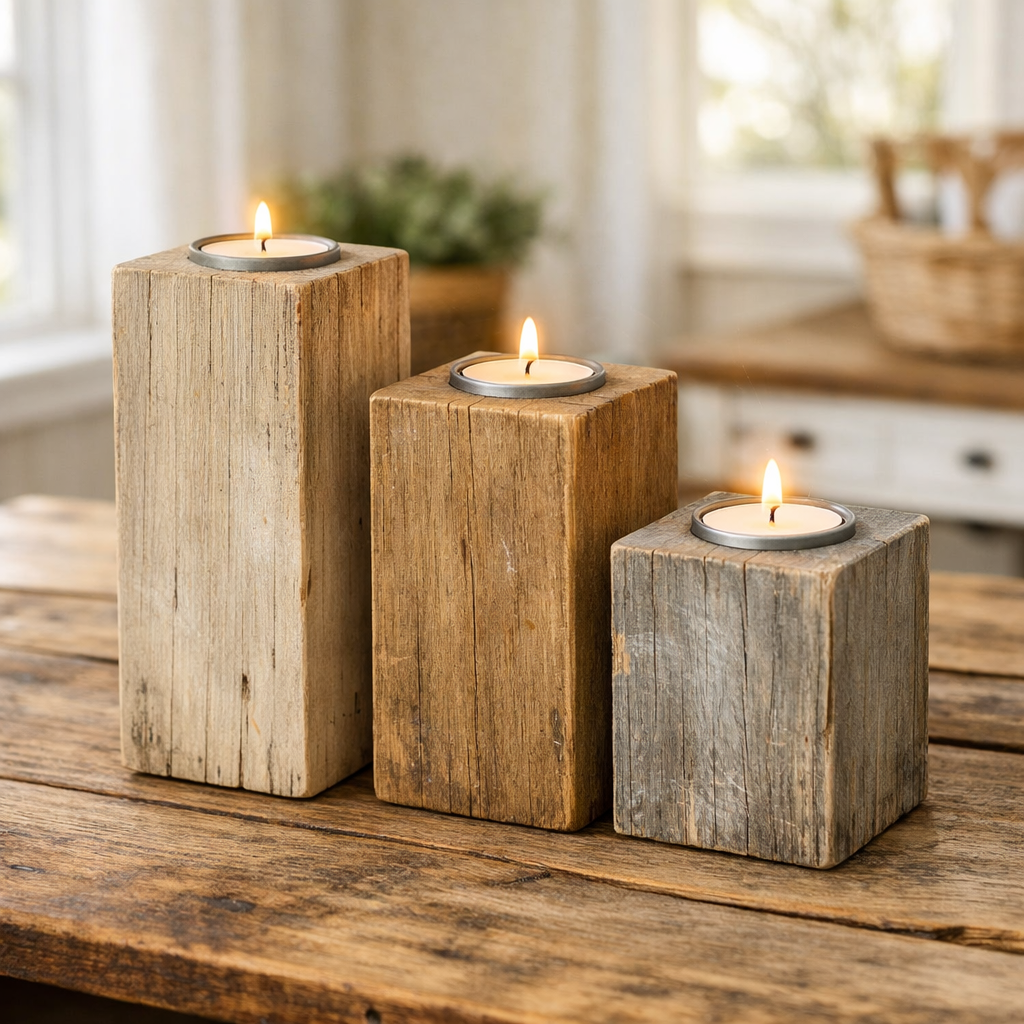
2. DIY Candle Holder Trio
A grouped candle display is one of the easiest ways to make any shelf, coffee table, or side table look intentionally styled. You don’t need to buy expensive candle holders — wooden blocks from your local Hobby Lobby, Michaels, or Home Depot work beautifully and can be cut to size for free at the hardware store.
How to make it: Sand wooden blocks smooth, then stain or paint them in a tone that complements your room. Group three together in varying heights for the best visual effect. Set tealights on top for instant ambiance.
Why it works: Instantly creates ambiance and makes any surface look styled and intentional.
Supplies you’ll need:
- Unfinished wood blocks (check Hobby Lobby, Michaels, or Home Depot)
- Chalk paint or wood stain — Check Current Price
- Tealight candles (bulk pack) — Check Current Price
- Fine-grit sandpaper — Check Current Price
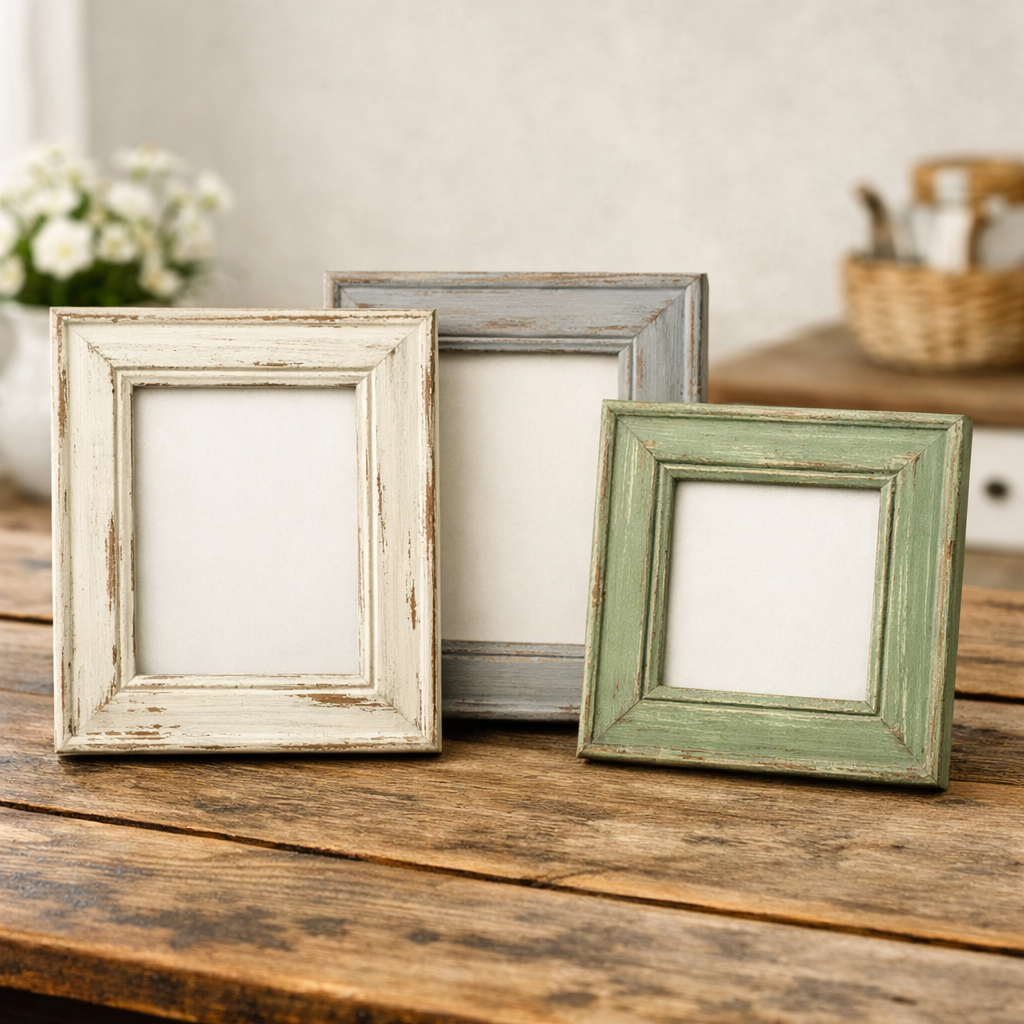
3. Rustic Photo Frames
Store-bought frames are functional, but a little chalk paint and sandpaper can turn a $2 thrift store frame into something that looks like it came from a boutique home décor shop. This is one of the best beginner projects because the imperfections actually make it look better.
How to make it: Remove the glass and backing from your frame. Apply one coat of chalk paint and let it dry fully. Then use fine-grit sandpaper to distress the edges and raised details until the wood or original color shows through slightly. Apply a clear wax or matte sealer to protect the finish.
Why it works: Personal photos feel more meaningful when displayed in handmade frames, and this project takes less than 30 minutes per frame.
Supplies you’ll need:
- Unfinished wood picture frames — Check Current Price
- Chalk paint — Check Current Price
- Clear finishing wax — Check Current Price
- Sandpaper assortment — Check Current Price
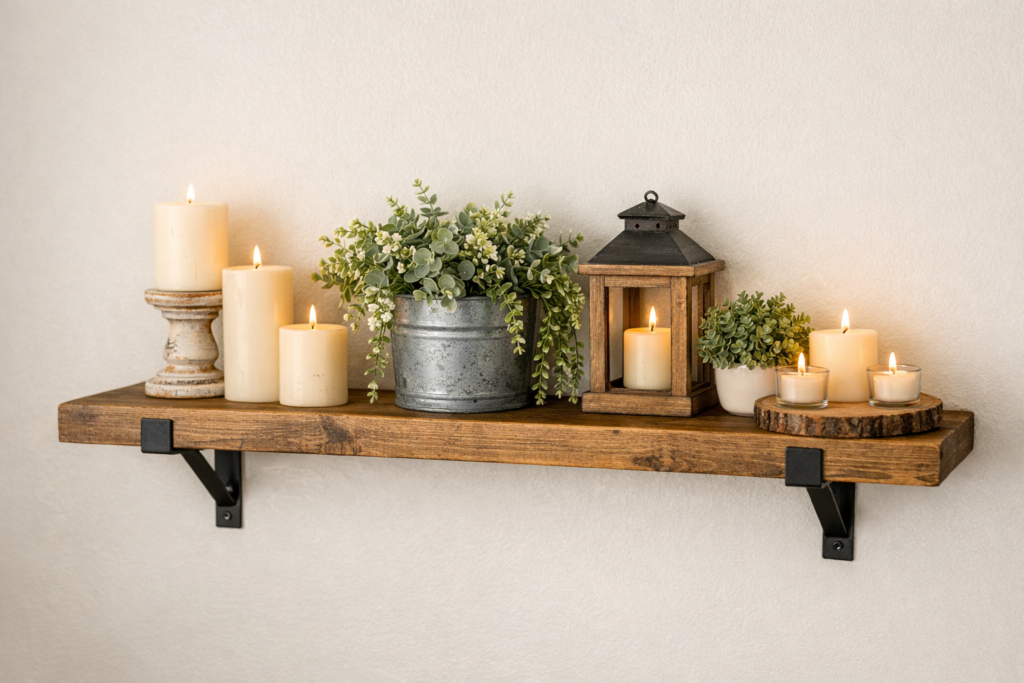
4. Farmhouse Floating Shelf
Floating shelves add both storage and style, and building your own means you can customize the exact size, stain, and bracket style to match your space. This is the most “advanced” project on this list, but it’s still very beginner-friendly — if you can use a drill, you can do this.
How to make it: Purchase a pre-cut wood board from your local hardware store (or have them cut it to size for free). Sand all edges smooth, apply your choice of wood stain, and let dry overnight. Mount your brackets at stud locations on the wall, then set the board on top and secure from underneath.
Why it works: Adds height, visual interest, and functional storage — great for plants, books, candles, or small décor collections.
Supplies you’ll need:
- Wood board (pine or poplar, cut to size at hardware store)
- Floating shelf brackets — Check Current Price
- Wood stain — Check Current Price
- Sandpaper — Check Current Price
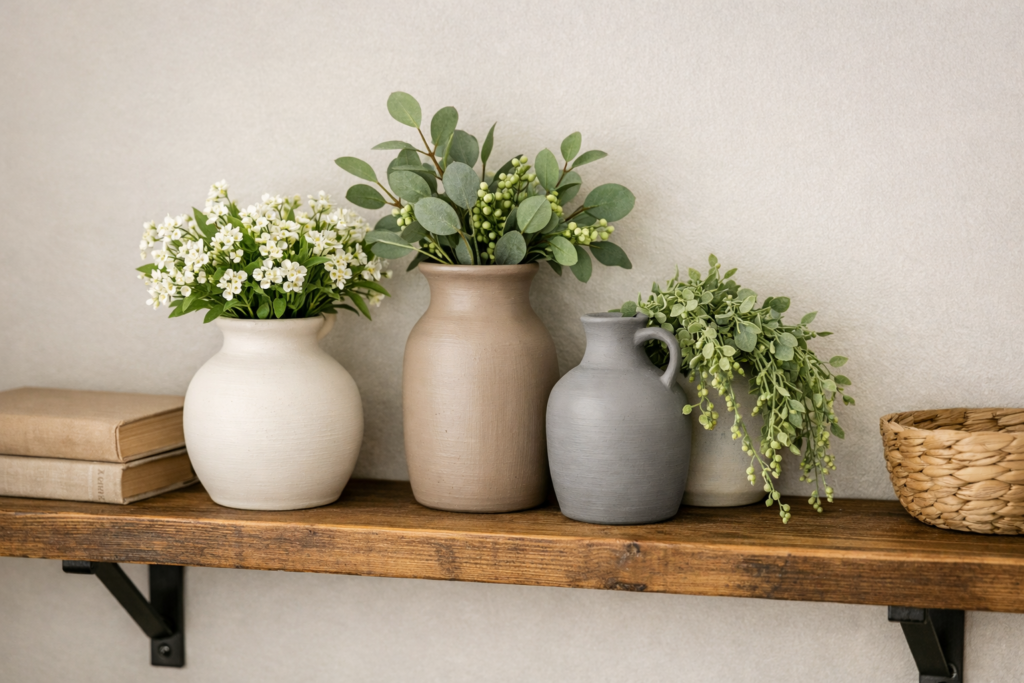
5. Painted Thrift-Store Vases
This is one of the most satisfying projects on the list because the transformation is so dramatic. An ugly $1 thrift store vase becomes a designer-looking piece with one coat of spray paint. You can also add texture by mixing baking soda into craft paint for a trendy, matte concrete look.
How to make it: Clean your vase thoroughly and let it dry. For smooth color, apply 2–3 light coats of spray paint, letting each dry fully before the next. For a textured finish, mix baking soda into acrylic paint until it reaches a thick paste consistency, then apply with a brush using uneven strokes.
Why it works: It’s the easiest way to get high-end looking décor for under $5 total.
Supplies you’ll need:
- Thrift store vases (check Goodwill or Facebook Marketplace)
- Matte spray paint in neutral tones — Check Current Price
- Acrylic craft paint — Check Current Price
- Baking soda (for texture — already in your pantry!)
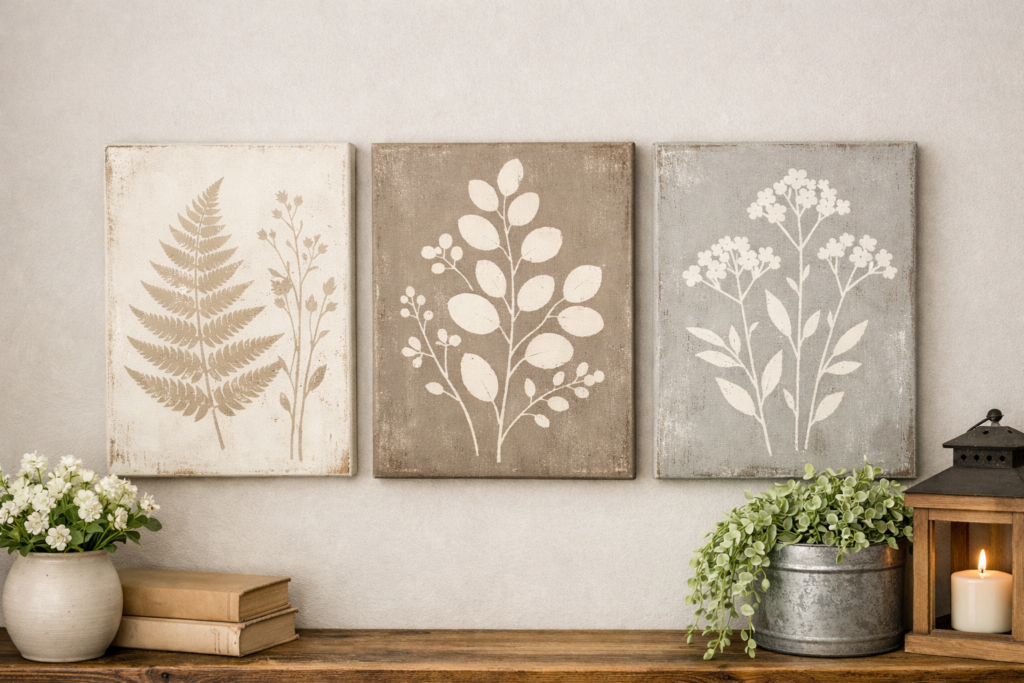
6. DIY Wall Art with Stencils
You don’t need to be an artist to hang beautiful, original artwork in your home. Stencils make it easy to create professional-looking pieces that match your exact color scheme and style — from geometric patterns to botanical prints to inspirational quotes.
How to make it: Tape your stencil securely to a canvas board. Using a stencil brush or foam roller, apply a thin, even layer of acrylic paint — less paint than you think you need. Peel the stencil back slowly before the paint fully dries to get the cleanest edges. Layer multiple stencils or colors for more complex designs.
Why it works: It’s endlessly customizable, and a set of canvases in coordinating designs makes a stunning gallery wall.
Supplies you’ll need:
- Canvas boards (variety pack) — Check Current Price
- Reusable stencil set — Check Current Price
- Acrylic paint set — Check Current Price
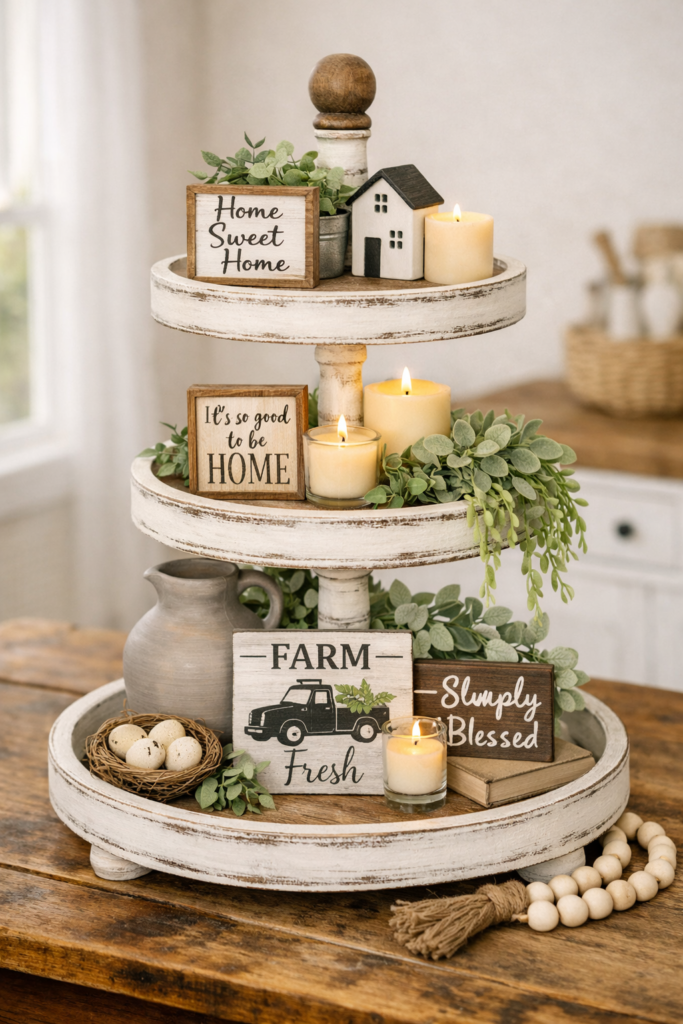
7. Tiered Tray Décor Setup
Tiered trays are everywhere in home décor right now, and for good reason — they’re endlessly rearrangeable, easy to swap out seasonally, and make any kitchen counter, bathroom, or entryway table look polished and intentional.
How to make it: Start with a two or three-tier tray. Then layer small items of varying heights: a mini sign or small frame on the bottom tier, a candle or small plant in the middle, and a small seasonal accent or greenery sprig on top. Odd numbers always look better than even.
Why it works: Small, easy, completely customizable, and you can refresh it for every season or holiday with new small accents.
Supplies you’ll need:
- Rustic white 3-tier tray — Check Current Price
- Mini farmhouse wood signs — Check Current Price
- Faux greenery picks — Check Current Price
- Small pillar candles — Check Current Price
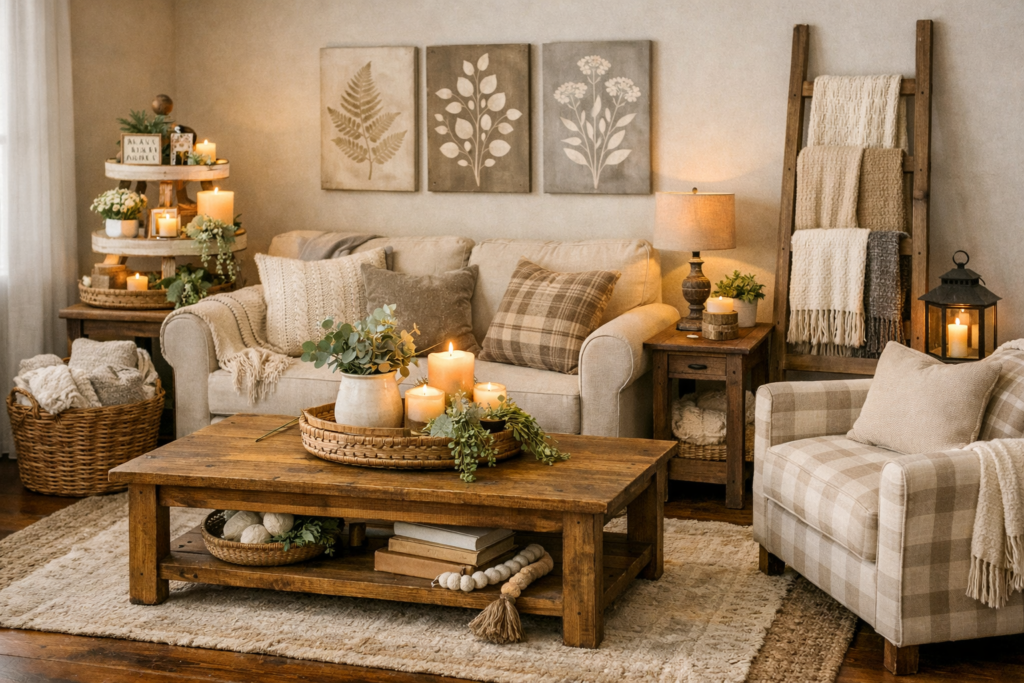
8. Blanket Ladder
A blanket ladder is one of those pieces that looks like it costs $80 at a home goods store but takes about an hour and $15 in lumber to build yourself. It’s functional storage AND a décor statement — perfect for living rooms, bedrooms, or bathrooms.
How to make it: Purchase two 6-foot wood dowels for the uprights and three shorter dowels for the rungs. Sand everything smooth. Drill evenly-spaced holes in the uprights, apply wood glue to the rung ends, and press the ladder together. Let dry overnight, then apply stain. Lean against a wall and drape with folded blankets or throws.
Why it works: Adds height and warmth to a room while actually solving a storage problem.
Supplies you’ll need:
- Wood dowels (from hardware store)
- Wood stain — Check Current Price
- Wood glue — Check Current Price
- Cozy throw blanket to display — Check Current Price
- Sandpaper — Check Current Price
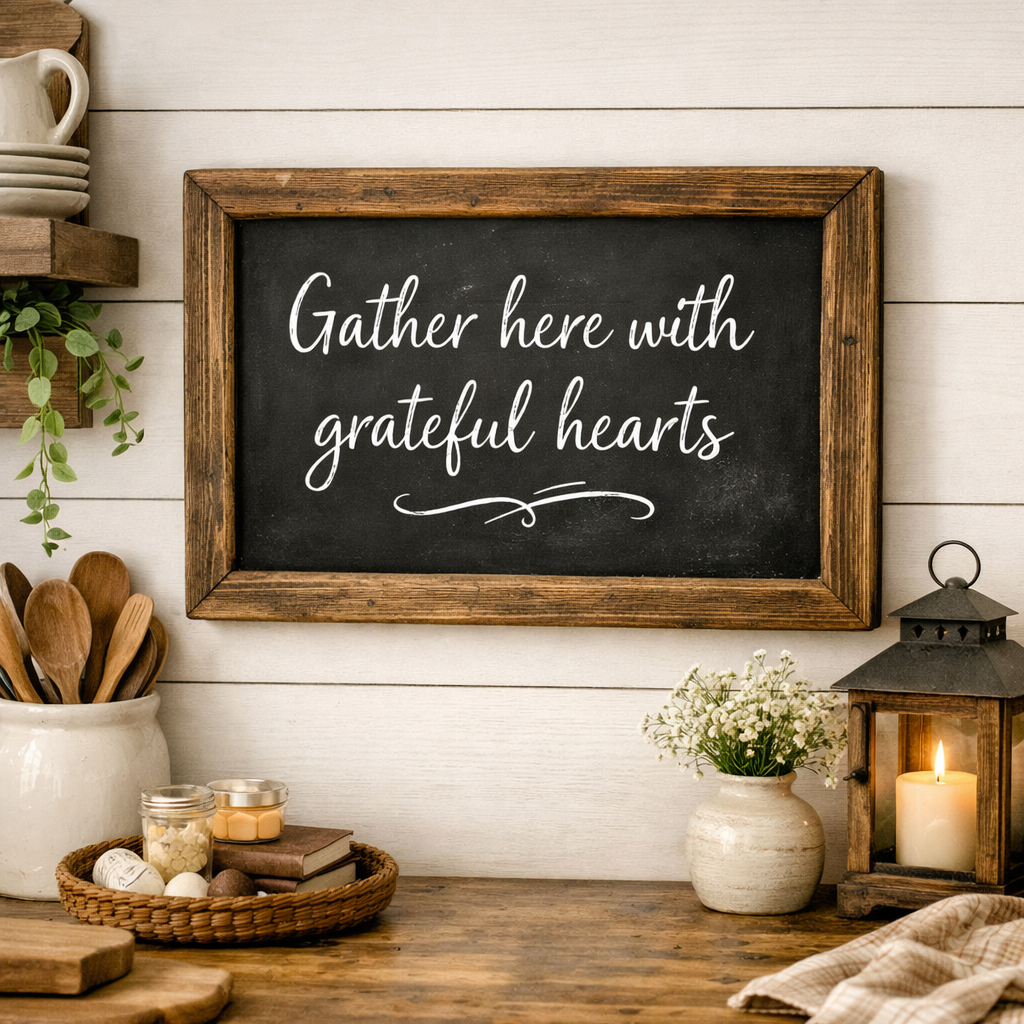
9. DIY Chalkboard Sign
Chalkboard signs add a charming, handwritten touch to any room — perfect for kitchens, entryways, kids’ rooms, or home offices. You can change the message as often as you want, making it one of the most versatile décor pieces you can own.
How to make it: Apply 2–3 coats of chalkboard paint to a wood board or an old picture frame, letting each coat dry fully. Once cured (usually 24 hours), “season” the surface by rubbing the side of chalk over the entire board and wiping clean — this prevents ghosting when you erase later. Write your message with a chalk marker for crisp lettering.
Why it works: Simple, charming, and interactive — kids especially love being able to help change the message.
Supplies you’ll need:
- Wood board or thrift store frame
- Chalkboard paint — Check Current Price
- Chalk markers — Check Current Price
- Letter stencils — Check Current Price
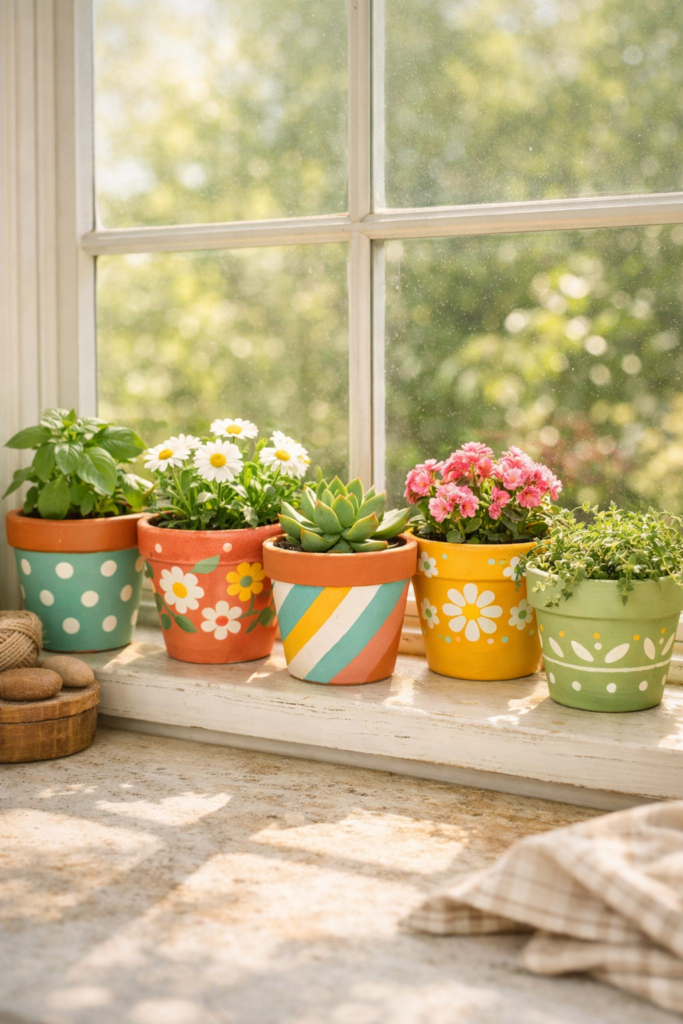
10. Painted Flower Pots
Plain terracotta pots are one of the best blank canvases in crafting. With just a few dollars of paint, you can create a matching set that looks like it came from a high-end garden boutique. These make wonderful gifts too.
How to make it: Clean and dry your pots thoroughly. Apply a base coat of white or light-colored craft paint first (this makes colors pop on terracotta). Once dry, paint your design — solid color, geometric patterns, stripes, or even simple hand-lettered plant names. Finish with a waterproof outdoor sealer if the pots will be used outdoors or watered regularly.
Why it works: Plants + handmade décor together create instant cozy, lived-in charm — and a matching set on a windowsill looks incredible.
Supplies you’ll need:
- Terracotta pots (set) — Check Current Price
- Acrylic craft paint set — Check Current Price
- Waterproof outdoor sealer — Check Current Price
Tips for DIY Success (Especially If You’re Brand New)
- Start with projects 1, 5, or 10 — they require the fewest tools and have the most forgiving learning curves.
- Stick to 2–3 colors throughout your home for a cohesive, collected look rather than a random one.
- Shop thrift stores first — Goodwill, Salvation Army, and Facebook Marketplace are goldmines for vases, frames, and trays you can transform for almost nothing.
- Don’t chase perfection. Handmade pieces are supposed to look handmade — that’s the entire point and the charm.
- Take photos of every project before and after. These are gold for Pinterest and Instagram and will grow your audience fast.
- Invest in a few good basics — a quality chalk paint, a set of foam brushes, and fine-grit sandpaper will carry you through dozens of projects.
Ready to Start Crafting?
You don’t need a craft room, expensive tools, or years of experience to make your home feel more like you. Start with one project this weekend — even just the painted vases or the mason jar centerpiece — and see how much a small handmade touch changes the feel of a room.
Which project are you tackling first? Drop a comment below and let us know — or share a photo of your finished project on Instagram and tag us @homecrafted_haven. We’d love to see what you make!
This post contains affiliate links. If you purchase through these links, Homecrafted Haven may earn a small commission at no extra cost to you. Thank you for supporting this site! See our full Affiliate Disclosure for details.