Beautiful, personalized artwork you can make yourself — for any style, any budget, any room.
Blank walls can make even the most beautifully furnished room feel cold and unfinished. But filling those walls with artwork that actually reflects your personality doesn’t have to mean spending hundreds of dollars at a gallery or home décor store. With a little creativity and a few basic supplies, you can create stunning custom wall art that looks like it belongs in a magazine — and costs a fraction of the price.
Whether you’re drawn to farmhouse charm, modern minimalism, bohemian style, or something entirely your own, these 10 DIY wall art ideas will help you transform every blank wall in your home into something beautiful, personal, and completely one of a kind.
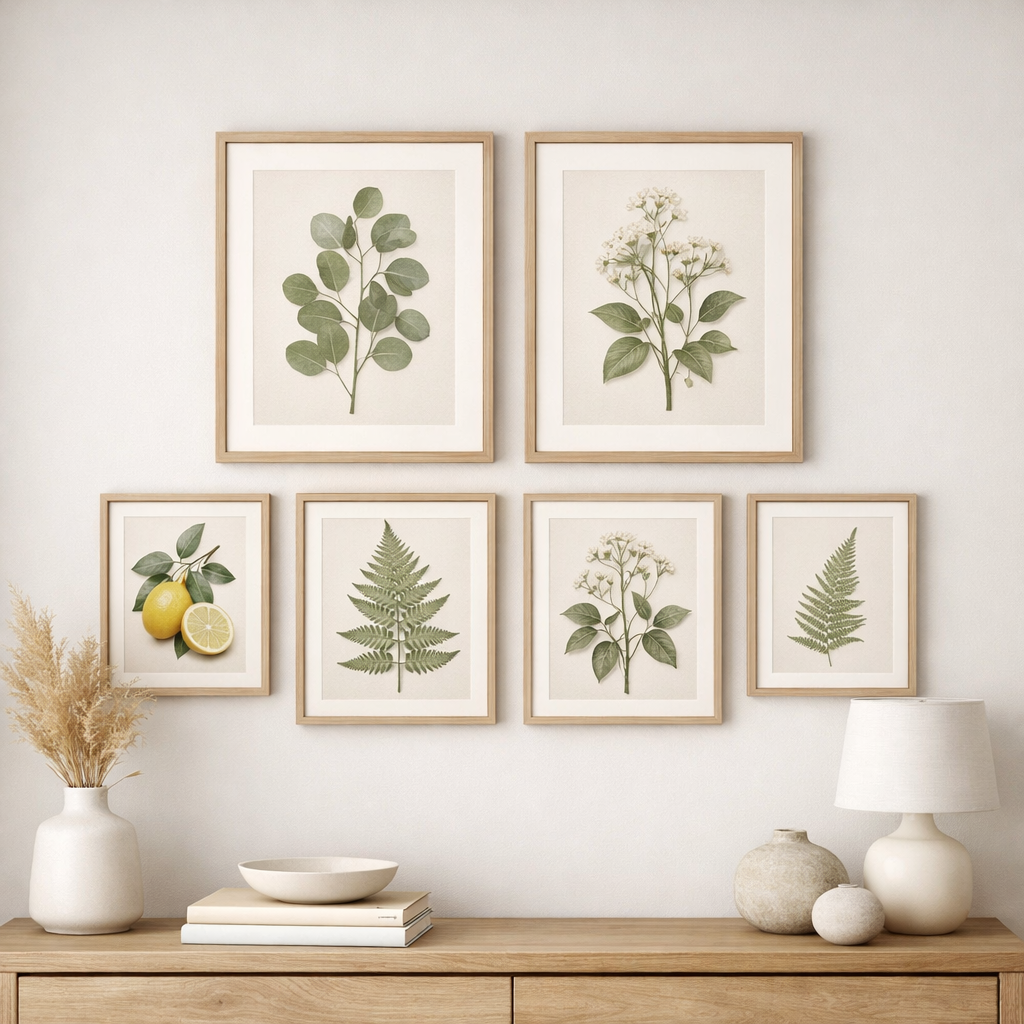
1. Botanical Print Gallery
Botanical prints are timeless, elegant, and incredibly easy to create yourself. A grouping of three to five coordinating botanical prints in matching frames makes a stunning statement in any room — living room, bedroom, bathroom, or hallway.
How to make it: Download free vintage botanical illustrations from websites like Unsplash or The Graphics Fairy — these are copyright free and print beautifully. Print them at home or at your local office supply store in the size you need. Frame them in coordinating frames — black, white, gold, or natural wood all work beautifully. Arrange them in a grid or organic cluster on your wall for maximum impact.
Why it works: Botanical prints have a timeless quality that works in virtually every decorating style — farmhouse, modern, traditional, and boho all love a good botanical print.
Supplies you’ll need:
- Picture frames set — Check Current Price
- Picture hanging strips — Check Current Price
- Cardstock paper for printing — Check Current Price
- Free botanical prints from unsplash.com or thegraphicsfairy.com
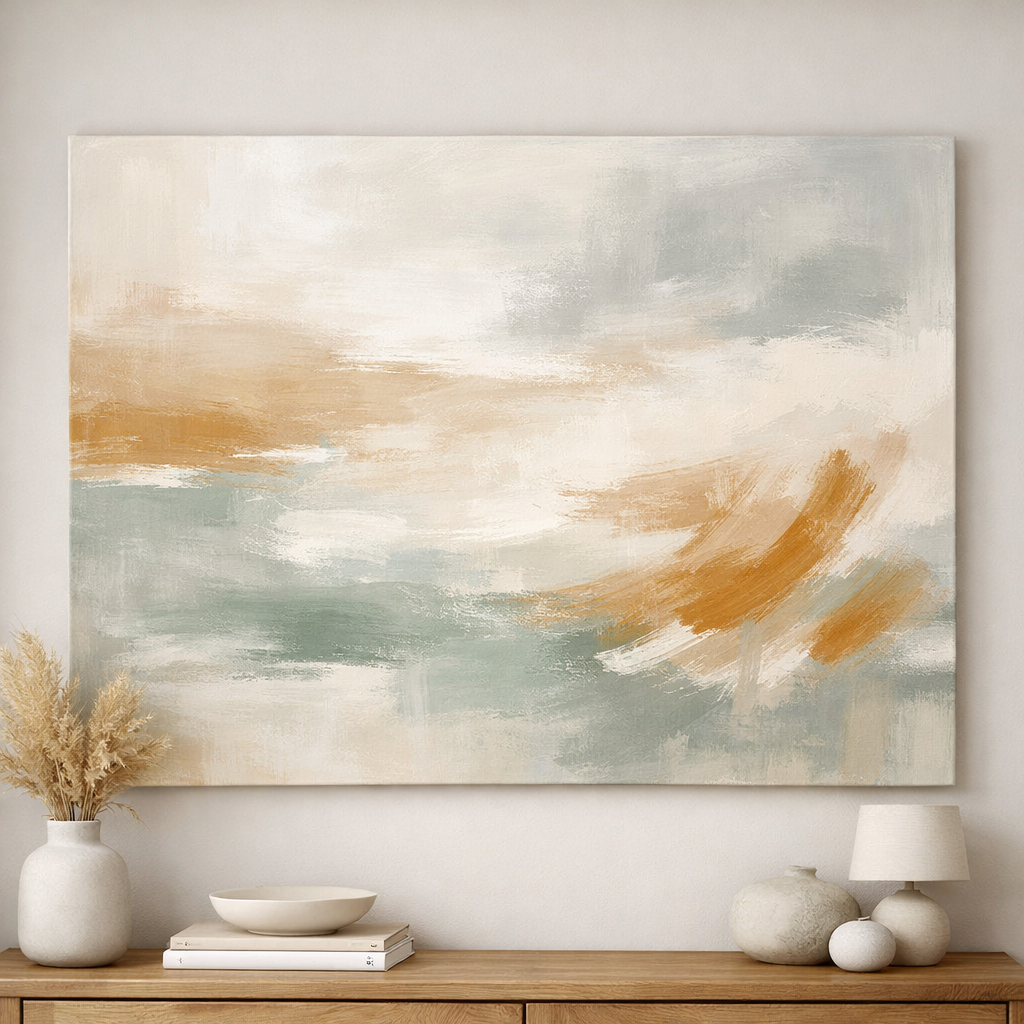
2. Abstract Canvas Painting
Abstract art is one of the most beginner friendly styles to create because there are no rules — and imperfections actually make it look better. A large abstract canvas in your room’s color palette makes a dramatic statement and looks completely intentional even when made by a total beginner.
How to make it: Start with a large canvas board. Apply a base coat of your lightest color using a wide foam roller. While still slightly wet use a palette knife or old credit card to drag streaks of a second and third coordinating color across the surface. Add loose brush strokes in a contrasting color for depth. Step back and let happy accidents happen — that’s what makes abstract art look authentic.
Why it works: A large piece of abstract art instantly elevates a room and creates a focal point — and making it yourself means it perfectly matches your existing color scheme.
Supplies you’ll need:
- Large canvas boards — Check Current Price
- Acrylic paint set — Check Current Price
- Foam paint rollers — Check Current Price
- Palette knife set — Check Current Price
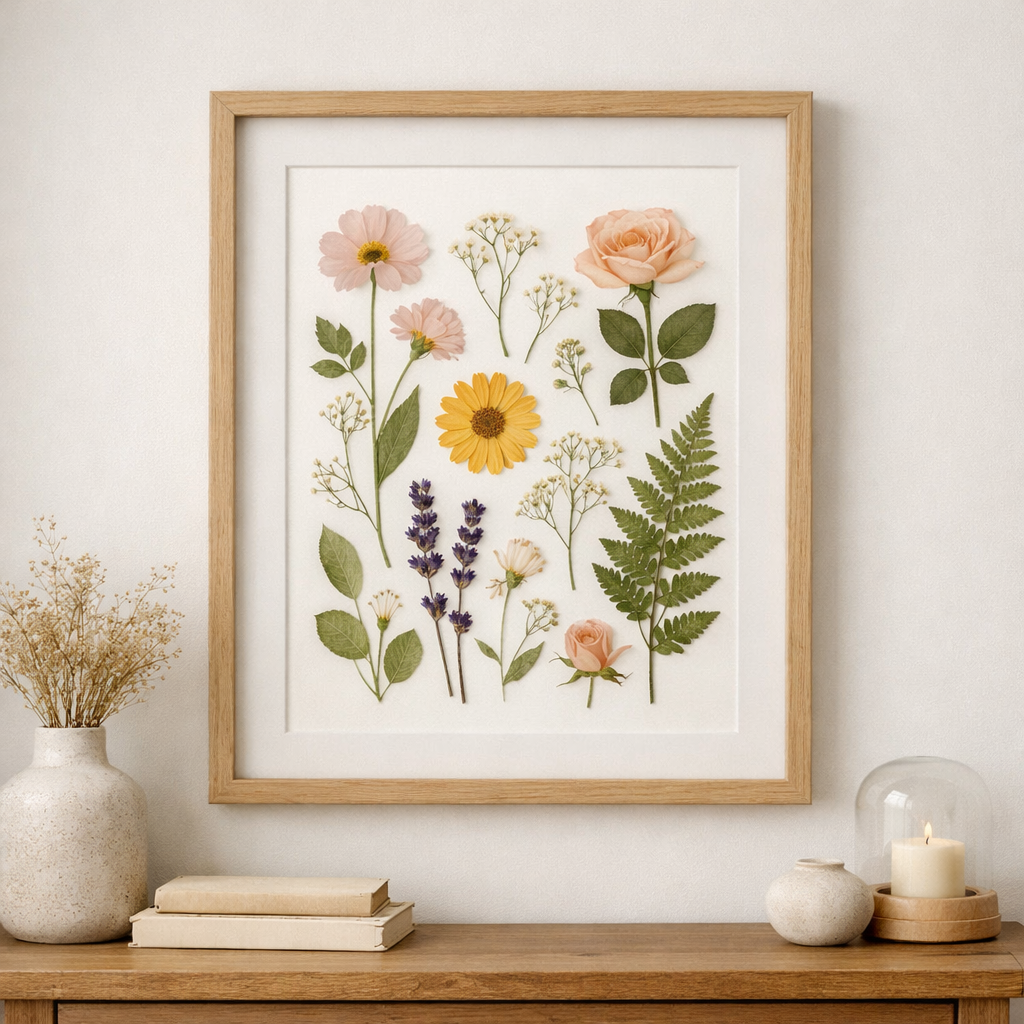
3. Pressed Flower Art
Pressed flower art is delicate, romantic, and surprisingly easy to make. A collection of pressed flowers and leaves arranged in a simple frame creates wall art that looks like it came from an expensive boutique — for just a few dollars.
How to make it: Collect flowers and leaves from your garden or purchase dried florals. Press them between the pages of a heavy book for 2-3 weeks until completely flat and dry. Arrange your pressed botanicals on a piece of cardstock or watercolor paper in a pleasing composition. Use a small amount of craft glue to secure each piece. Frame and hang for instant botanical charm.
Why it works: No two pressed flower arrangements are exactly alike — making yours completely one of a kind and deeply personal.
Supplies you’ll need:
- Dried pressed flowers set — Check Current Price
- Watercolor paper — Check Current Price
- Picture frames — Check Current Price
- Craft glue — Check Current Price
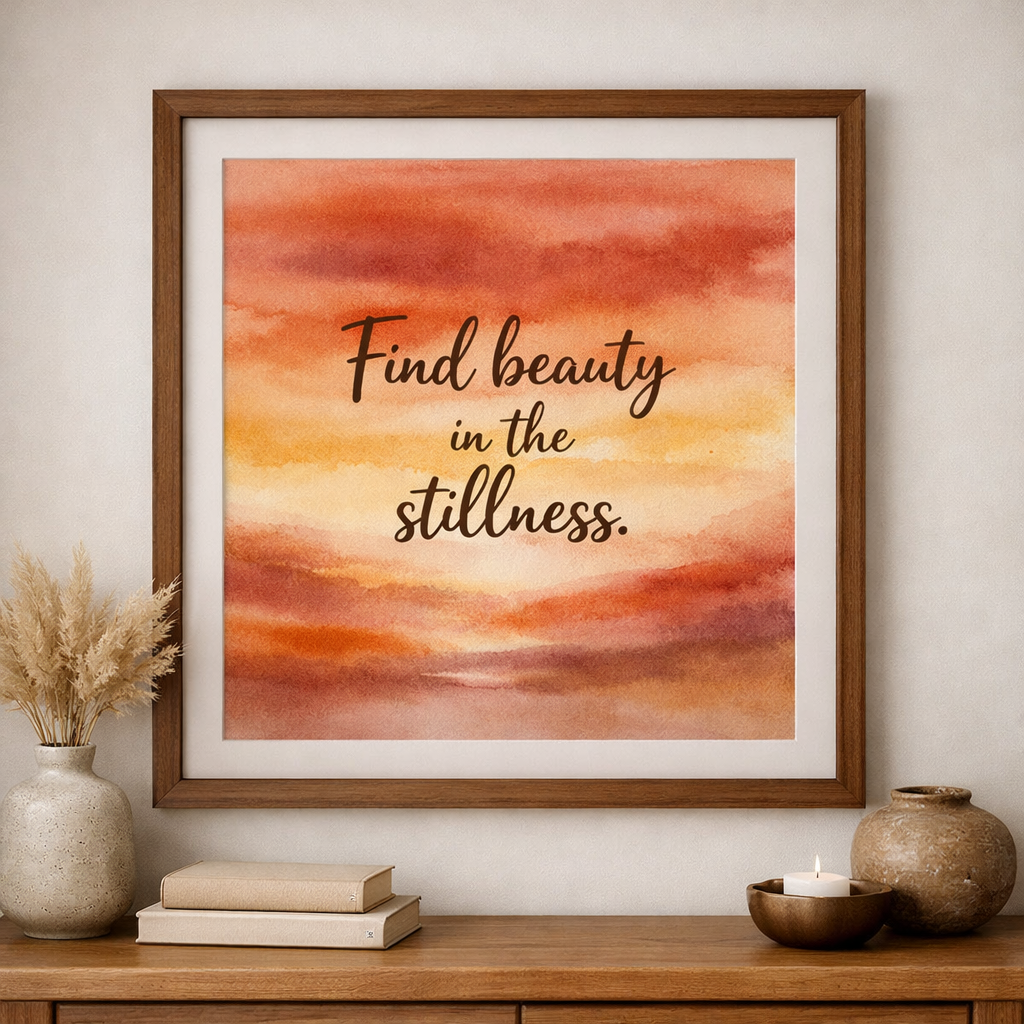
4. Watercolor Quote Art
A hand lettered or stenciled inspirational quote on a watercolor background makes beautiful personalized wall art that feels meaningful and intentional. Choose a quote that resonates with you — something about home, family, gratitude, or adventure — and make it uniquely yours.
How to make it: Start by painting a loose watercolor wash background on watercolor paper — blend 2-3 soft colors together while wet for a dreamy effect. Let dry completely. Then use letter stencils and a fine brush or chalk marker to add your chosen quote over the watercolor background. Frame and hang for a piece that feels both artistic and personal.
Why it works: Quote art makes a room feel intentional and tells visitors something meaningful about the people who live there — it adds soul to a space.
Supplies you’ll need:
- Watercolor paint set — Check Current Price
- Watercolor paper — Check Current Price
- Letter stencils — Check Current Price
- Fine tip paint brushes — Check Current Price
- Picture frames — Check Current Price
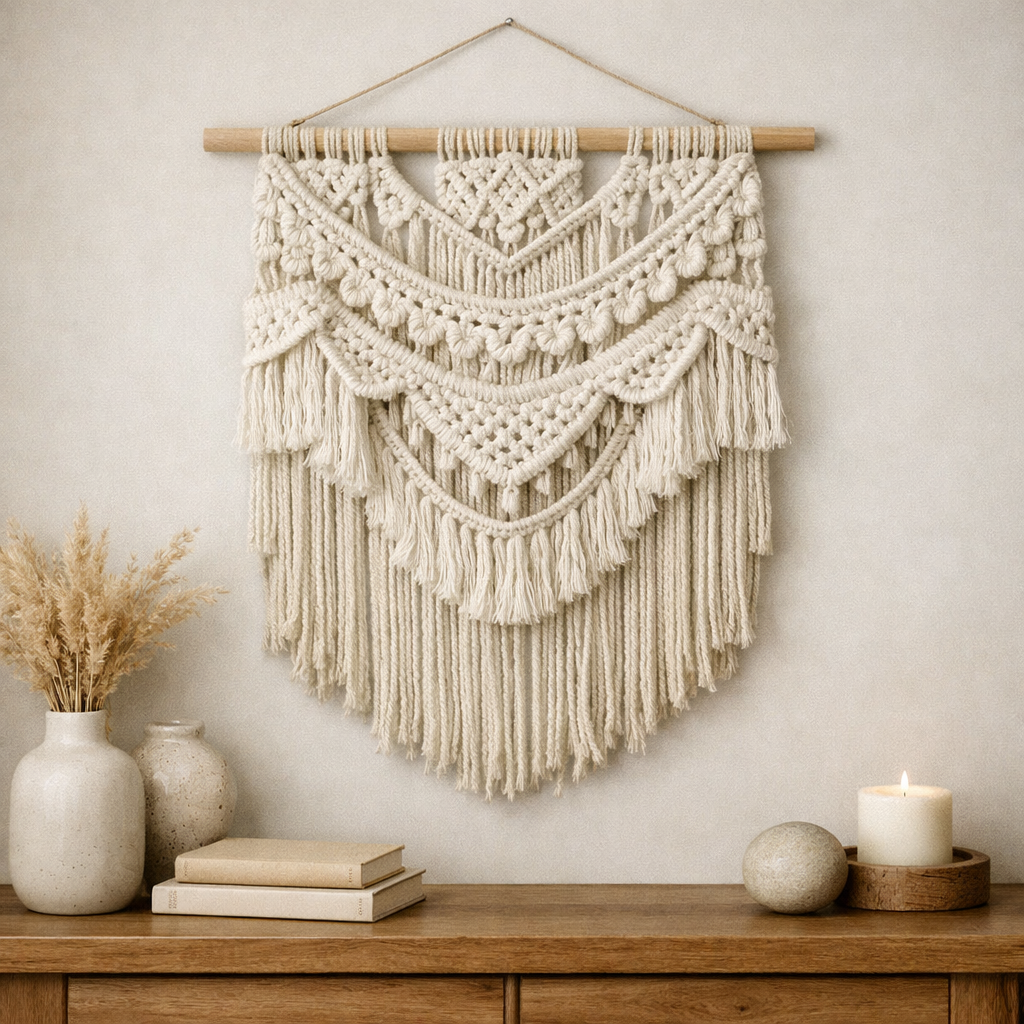
5. Woven Wall Hanging
Woven wall hangings add incredible texture, warmth, and bohemian charm to any room. They’re especially beautiful in bedrooms and living rooms and work in farmhouse, boho, and modern rustic styles equally well. And despite looking complicated they’re actually very beginner friendly!
How to make it: Purchase a small wooden dowel and cut it to your desired width. Tie loops of yarn across the dowel to create your warp threads. Then weave additional yarn strands over and under the warp threads in alternating rows using your fingers — no loom required. Add fringe at the bottom by cutting yarn into equal lengths and folding them through the bottom row. Hang from the dowel with a length of twine.
Why it works: Woven wall hangings add texture that no flat artwork can replicate — they bring a room to life in a completely different way than canvas or framed prints.
Supplies you’ll need:
- Macrame yarn and cord — Check Current Price
- Wooden dowels — Check Current Price
- Natural jute twine — Check Current Price
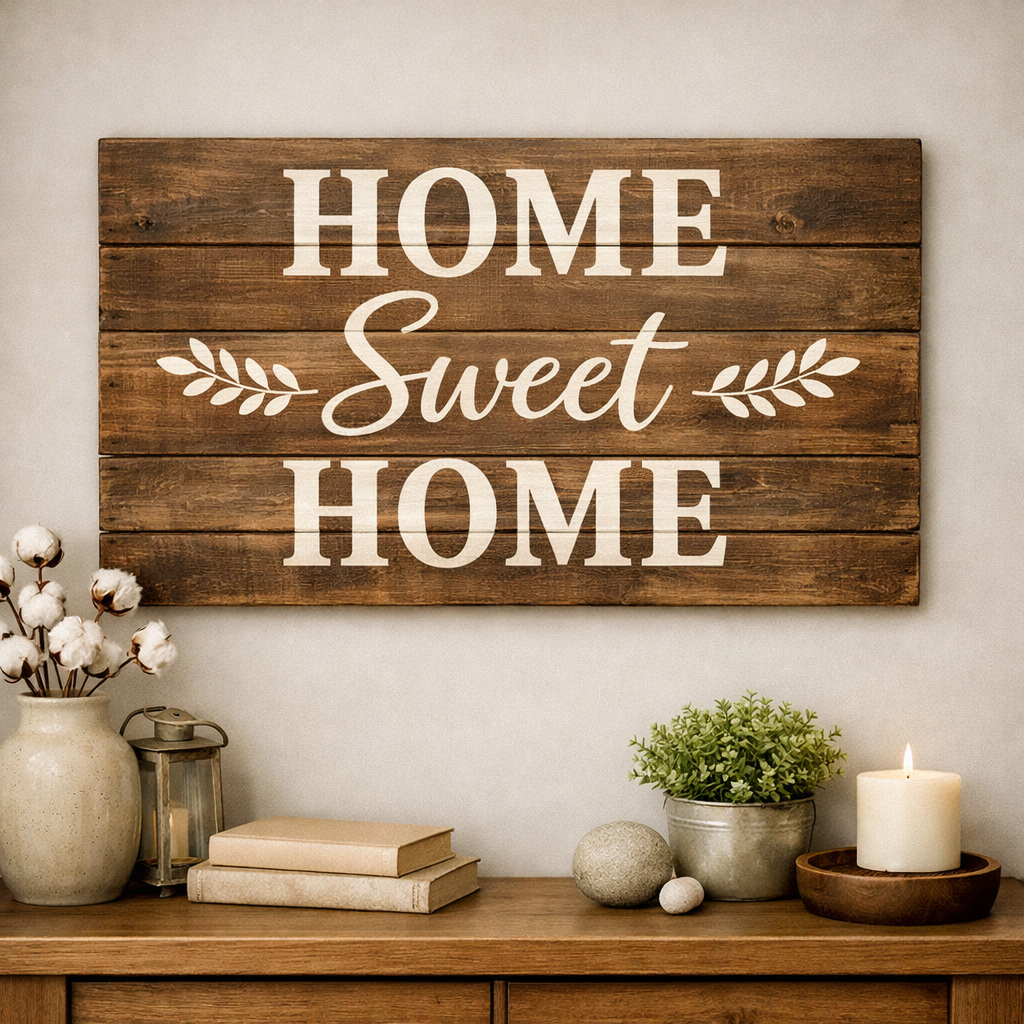
6. Stenciled Wood Sign
A stenciled wood sign is one of the most versatile DIY wall art projects you can make — it works in every room of the house and can be completely customized with any word, phrase, or design that fits your style. Family names, house rules, inspirational words, or seasonal greetings all look stunning on wood.
How to make it: Start with a wood board — rough cut edges give a more rustic look while smooth boards feel more modern. Sand lightly, then apply a base coat of chalk paint or stain. Once dry position your stencil and secure with painter’s tape. Apply paint over the stencil using a stencil brush with a dry brush technique — less paint gives cleaner edges. Peel the stencil and let dry. Distress lightly with sandpaper and seal with finishing wax.
Why it works: A custom word or phrase on wood feels personal and handmade in a way that store bought signs simply can’t replicate — because it IS personal and handmade.
Supplies you’ll need:
- Wood board (from hardware store)
- Chalk paint — Check Current Price
- Reusable stencil set — Check Current Price
- Letter stencils — Check Current Price
- Sandpaper — Check Current Price
- Clear finishing wax — Check Current Price
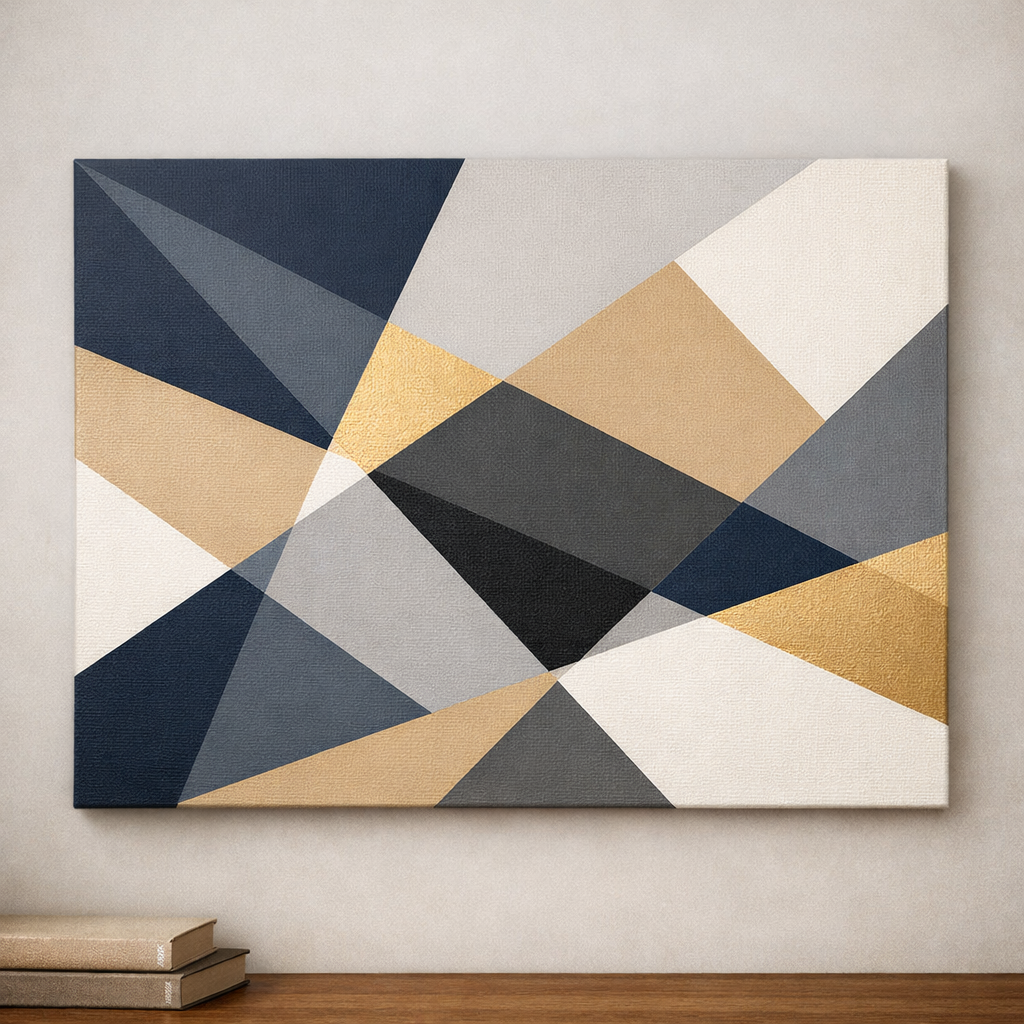
7. Geometric Tape Art
Geometric wall art using painter’s tape is one of the most satisfying DIY projects because the reveal moment — when you pull the tape off — is absolutely stunning every time. You can create triangles, diamonds, hexagons, or any geometric shape you can dream up directly on your wall or on canvas.
How to make it: On canvas apply painter’s tape in your desired geometric pattern — triangles are the easiest starting point. Make sure the tape edges are pressed down firmly. Paint each section in coordinating colors using a foam roller or brush. Apply two coats for full coverage. Once the second coat is still slightly wet carefully peel the tape back at a 45 degree angle for the sharpest lines. Step back and enjoy the dramatic reveal!
Why it works: Geometric art has a modern, graphic quality that looks expensive and intentional — and you can customize the colors to match any room perfectly.
Supplies you’ll need:
- Canvas boards — Check Current Price
- Painter’s tape — Check Current Price
- Acrylic paint set — Check Current Price
- Foam paint rollers — Check Current Price
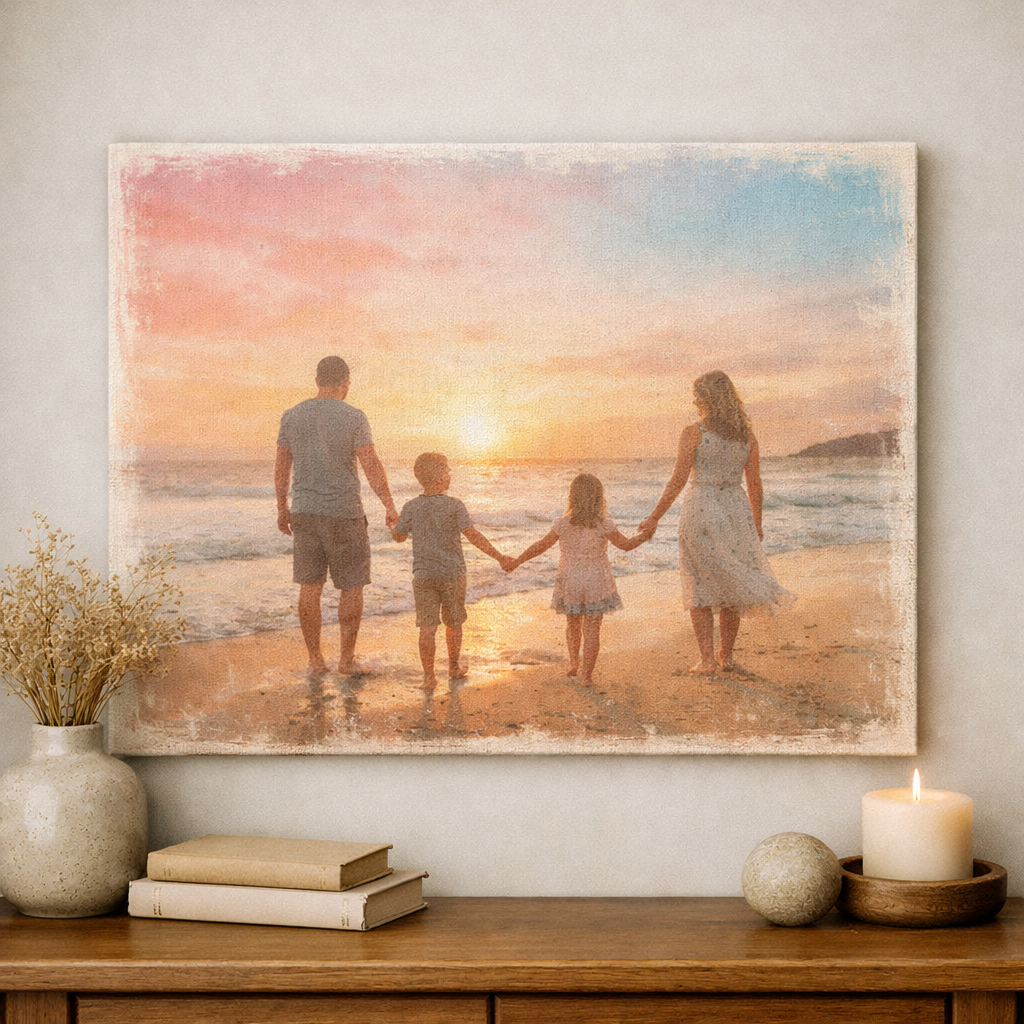
8. Photo Transfer Art
Photo transfer art takes your favorite personal photos and transforms them into beautiful, artistic wall pieces with a vintage, dreamy quality that printed photos simply don’t have. This technique creates truly one of a kind artwork that tells your family’s story.
How to make it: Print your chosen photo on regular printer paper using a laser printer — inkjet prints won’t work for this technique. Apply a thick, even coat of photo transfer medium to a canvas board. Place your photo face down onto the medium and smooth out all bubbles. Let dry completely for at least 24 hours. Dampen the paper with a wet sponge and gently rub it away in circular motions — the image transfers to the canvas as the paper peels away. Seal with a final coat of transfer medium.
Why it works: Photo transfer art feels deeply personal and artistic — it transforms an ordinary photo into something that looks like a piece of fine art.
Supplies you’ll need:
- Photo transfer medium — Check Current Price
- Canvas boards — Check Current Price
- Foam brushes — Check Current Price
9. Macrame Wall Art
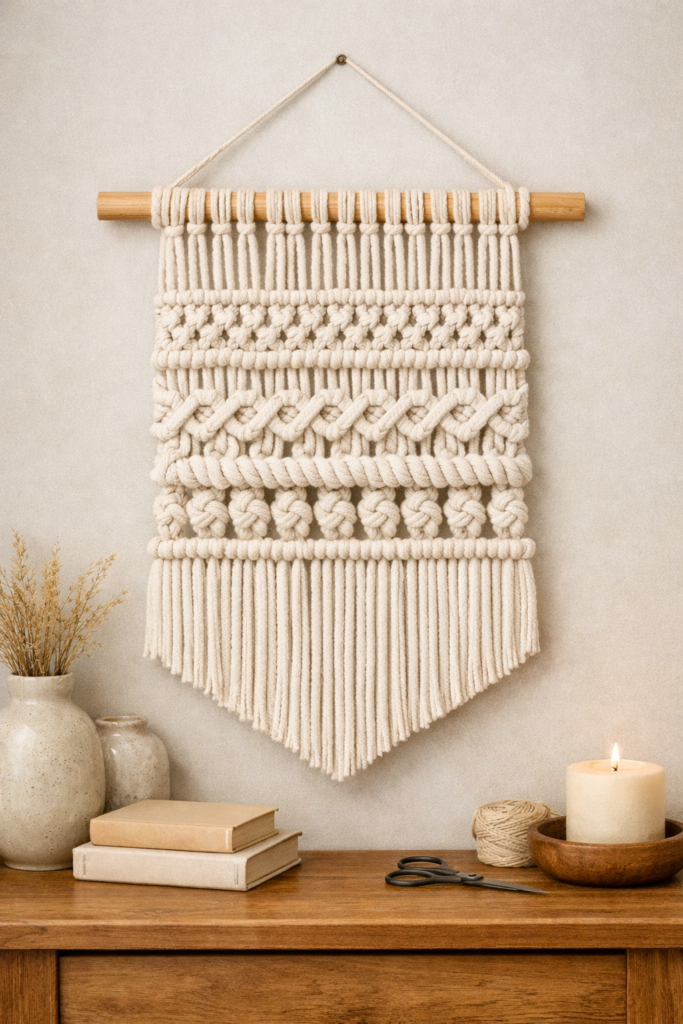
Macrame — the art of decorative knotting — has made a massive comeback in home décor and for good reason. A handmade macrame wall piece adds incredible texture, warmth, and bohemian charm that no other type of wall art can replicate.
How to make it: Start with a wooden dowel and cut macrame cord into lengths three times the desired finished length of your piece. Fold each cord in half and attach to the dowel using a simple lark’s head knot. Practice two basic knots — the square knot and the spiral knot — and alternate them in rows to create your pattern. Trim the fringe at the bottom into a V shape or straight line for a finished look. Hang from the dowel with cord or twine.
Why it works: Macrame wall art is one of the most popular home décor styles on Pinterest right now — and making your own means you get exactly the size and style you want at a fraction of the retail price.
Supplies you’ll need:
- Macrame cord natural cotton — Check Current Price
- Wooden dowels — Check Current Price
- Natural jute twine — Check Current Price
10. Chalkboard Art Wall
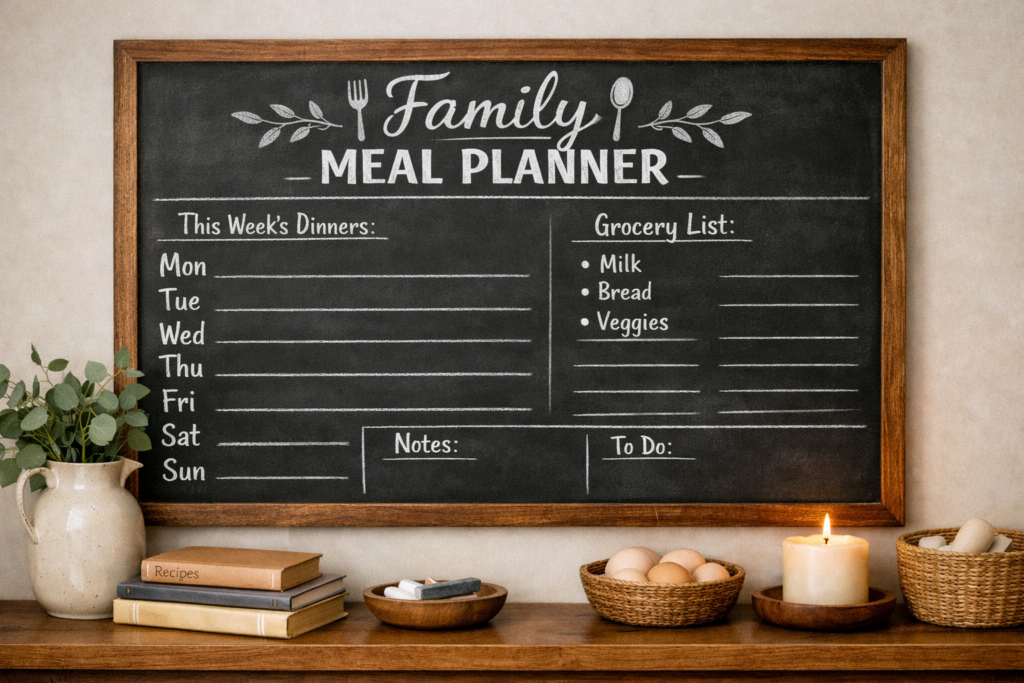
A large chalkboard panel on your wall is one of the most creative and versatile wall art ideas on this list — because it’s never the same twice. You can draw seasonal artwork, write family quotes, create menus, or let your kids express their creativity. It’s functional, beautiful, and endlessly changeable.
How to make it: Purchase a large piece of MDF board from your hardware store and have it cut to your desired size. Apply 3-4 coats of chalkboard paint using a foam roller, letting each coat dry fully between applications. Once cured season the surface by rubbing chalk over the entire board and wiping clean. Mount on your wall using picture hanging hardware and start creating!
Why it works: A chalkboard wall panel is interactive, seasonal, and completely unique — it makes a room feel alive and ever-changing in a way no other wall art can.
Supplies you’ll need:
- MDF board (cut to size at hardware store)
- Chalkboard paint — Check Current Price
- Foam paint rollers — Check Current Price
- Chalk markers — Check Current Price
- Picture hanging strips — Check Current Price
Tips for Creating Stunning DIY Wall Art
- Size matters — when in doubt go bigger. Most people hang art that’s too small for the wall. A large piece or grouping makes a much stronger statement
- Gallery walls work in odd numbers — groups of 3, 5, or 7 pieces always look more intentional than even numbers
- Arrange on the floor first — before putting any nails in the wall lay your pieces on the floor and experiment with arrangements until you find one you love
- Consistent framing pulls everything together — a gallery wall with matching or coordinating frames looks much more intentional than a mix of random frames
- Height matters — hang art so the center of the piece is at eye level — approximately 57-60 inches from the floor
- Don’t be afraid of empty space — not every wall needs to be filled. Sometimes one well-chosen piece makes more impact than a crowded gallery wall
- Use what you have — fabric scraps, old maps, sheet music, book pages, and vintage postcards all make beautiful and free wall art
Ready to Fill Your Walls With Something Beautiful?
Your walls are a blank canvas waiting to tell your story. Start with just one project this weekend — even something as simple as downloading and printing free botanical art or picking up a canvas and some paint — and watch how quickly your home starts to feel more personal, more intentional, and more like you.
Which wall art project are you most excited to try? Drop a comment below — or share a photo of your finished artwork on Instagram and tag us @homecrafted_haven. We love seeing your creativity!
This post contains affiliate links. If you purchase through these links, Homecrafted Haven may earn a small commission at no extra cost to you. Thank you for supporting this site! See our full Affiliate Disclosure for details.