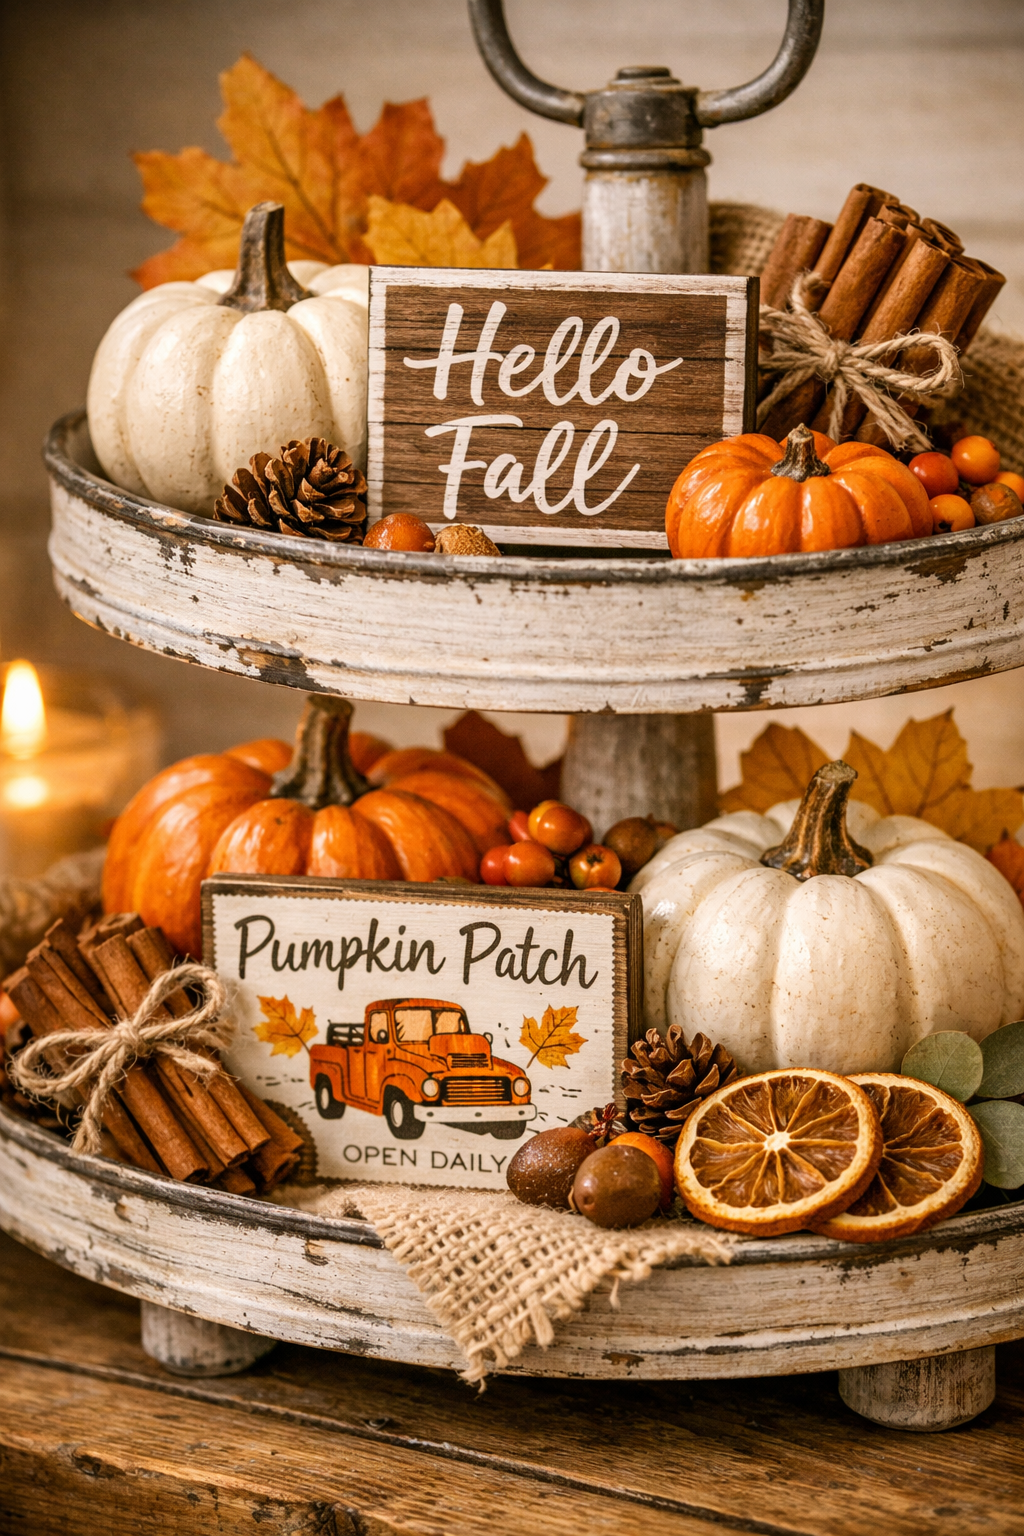
There’s something about a beautifully styled tiered tray that just says “fall has arrived” the moment you walk into a room. It’s one of the easiest ways to bring cozy, farmhouse charm into your home without committing to a full decor overhaul — and the best part? You can rework the same tray for every season with just a few new pieces.
If you’ve got a tiered tray sitting in a closet somewhere (or you’re ready to add one to your collection), this guide will walk you through exactly how to style it for fall using simple, budget-friendly pieces you can find right on Amazon.
Why Tiered Trays Work So Well for Seasonal Decor
A tiered tray gives you built-in structure — two or three levels that naturally create height, depth, and visual interest. Instead of a flat, cluttered surface, you get a curated little display that looks intentional even when you’re just working with a handful of pieces. It’s the same principle stylists use on bookshelves and console tables, just scaled down to a coffee table or kitchen counter.
The 3-Zone Styling Method
Instead of just piling decor onto each tier, think of your tray in three zones:
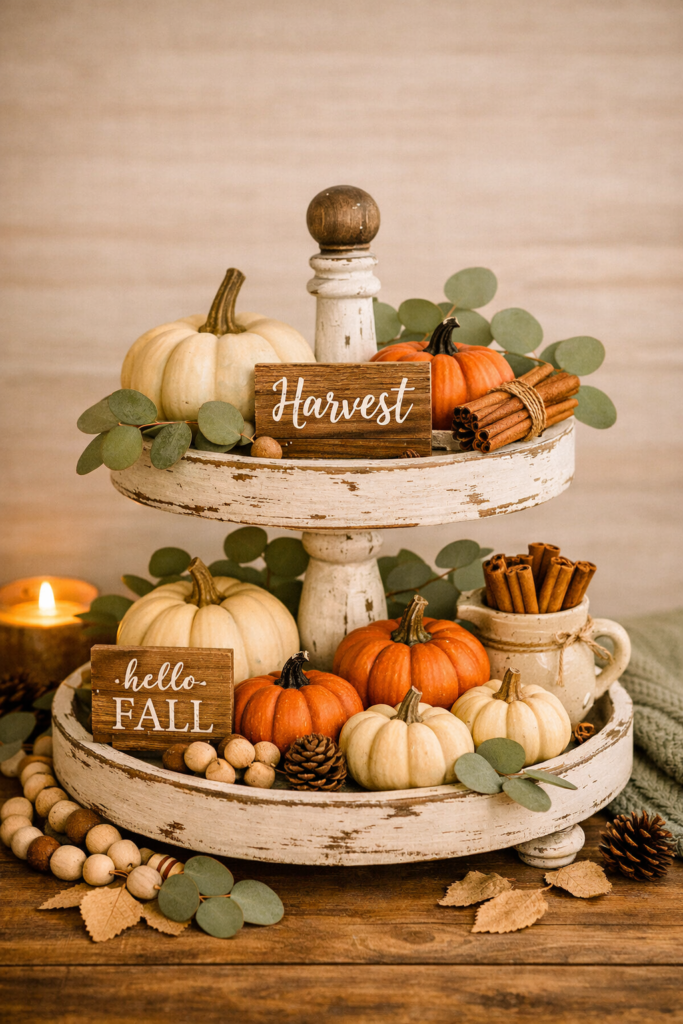
1. The Top Tier (Focal Point) This is where your eye lands first, so keep it a little lighter and airier. A couple of mini pumpkins, a sprig of greenery, and a small wood sign work beautifully here.
2. The Base Tier (Foundation) This is your biggest layer, so it can hold more volume — bigger pumpkins, a filled crock or mug, and bundled cinnamon sticks. This tier should feel a little fuller than the top to keep the tray visually balanced (like a tree — narrower up top, fuller at the base).
3. The Overflow (Where the Magic Happens) This is the styling trick most people skip: let a few things spill over the edge of the tray onto the table itself — a wood bead garland draped just so, a few loose leaves, or a pinecone or two. This one move instantly makes a tray look styled rather than staged.
Your Fall Tiered Tray Shopping List
Here’s everything you need to recreate this look, with real products to shop:
- Mini Pumpkins — A mix of cream, orange, and white mini pumpkins gives you that classic, collected-over-time farmhouse look. Grab a variety pack so you have options for both tiers.
- Wood Bead Garland (Cream & Jute) — This is your overflow piece. Drape it so it spills off the edge of the base tier and pools slightly on the table.
- Eucalyptus Stems — A few faux eucalyptus sprigs tucked between the pumpkins soften all those round shapes and add a fresh, organic touch.
- Pillar Candles — Available in vanilla cupcake cream, light brown, and dark brown, these add warmth and a soft glow, especially if you go with flameless versions for a tray that stays lit safely all season.
- Cinnamon Sticks for DIY Bundles — Tie a handful together with jute twine to make your own mini cinnamon bundles (more on that in an upcoming post!). They add texture, warmth, and that unmistakable fall scent.
- Small Wood Signs with Fall Sayings — “Harvest,” “Hello Fall,” or anything in that farmhouse script style works. Browse this search to find one that matches your color palette.
- Tiered Tray — There are tons of styles out there, from distressed white farmhouse wood to galvanized metal. Browse this search to find one that matches your space.
How to Put It All Together
- Start with your tray empty and set it on the surface you’ll be displaying it on — styling is easier when you’re not constantly moving the whole thing.
- Place your largest items first on the base tier — this usually means your biggest pumpkin and any crock or mug you’re using to hold the cinnamon sticks.
- Layer in the mid-sized pieces, tucking eucalyptus stems in the gaps between pumpkins.
- Add the top tier, keeping it a little more open and airy than the base.
- Finish with the overflow — drape the wood bead garland so a portion spills over the tray’s edge, and scatter a couple of loose leaves or a pinecone at the base of the tray on the table.
- Step back and adjust — odd numbers of items (3 pumpkins instead of 2, for example) tend to look more natural than even, symmetrical groupings.
A Few Styling Tips
- Vary your textures. Smooth pumpkins, rough cinnamon bark, soft greenery, and matte wood beads all sitting together is what makes a tray feel curated instead of matchy.
- Don’t be afraid of empty space. A tray with a little breathing room reads as more elevated than one crammed full edge to edge.
- Turn stems and pumpkins to their best angle — just like arranging flowers, take a second to rotate each piece so its “best side” faces forward.
Make It Your Own
The beauty of this styling method is that it’s endlessly repeatable. Swap the pumpkins for ornaments and pinecones in December, or pastel eggs and greenery in spring, and you’ve got a tray that works all year using the same layering principles.
If you recreate this look, I’d love to see it! Tag your photos #HomecraftedHaven so we can share them.
This post contains affiliate links. If you make a purchase through one of these links, I may earn a small commission at no extra cost to you. Thank you for supporting Homecrafted Haven!
📋 Free Guide Alert! Loving these tiered tray ideas? Get my free printable Seasonal Tiered Tray Styling Guide with even more tips, color palettes, and seasonal inspiration. Download It Free →